
Your At-Home Pedicure: A 7 Step Guide | TCF
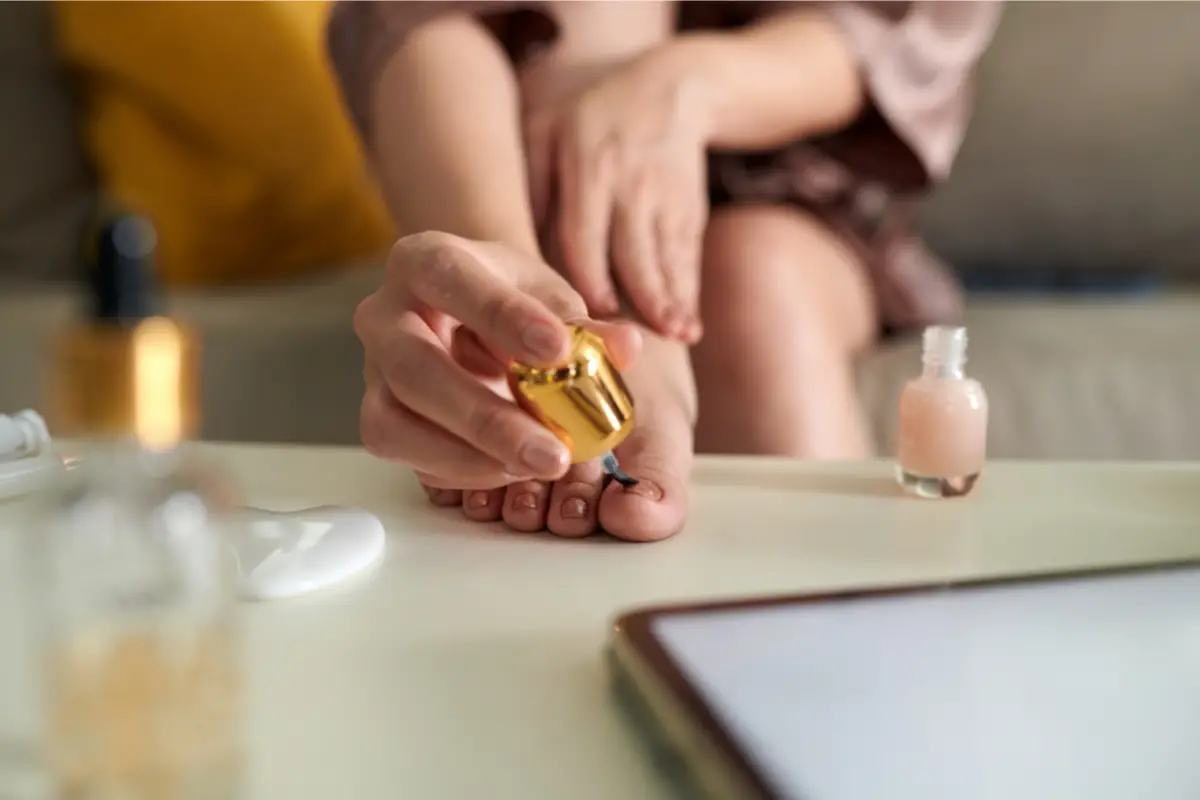
Who doesn’t love the feeling of freshly pampered feet? However, between busy schedules and the rising cost of salon visits, sometimes getting that perfect pedicure feels like a luxury that just can’t be squeezed in. This guide is here to tell you that you absolutely can achieve salon-worthy results right in the comfort of your own space. Learning how to do an at-home pedicure is not only a fantastic act of self-care but also a savvy way to keep your toes looking fabulous without breaking the bank. Forget the fuss; mastering your own at-home pedicure is easier than you think, and your feet will thank you for it!
Get Ready to Relax: Products & Tools for Your At-Home Pedicure Oasis
We want to be transparent with you about how we make money. This website uses affiliate links. This means that if you click on an affiliate link and make a purchase, we may receive a commission from the retailer. This commission comes at no additional cost to you
Before we dive into the nitty-gritty, let’s gather everything you need. Think of this as setting up your personal foot spa. You likely already have most of these items, but if not, they can be easily found at your local drugstore or beauty supply store.
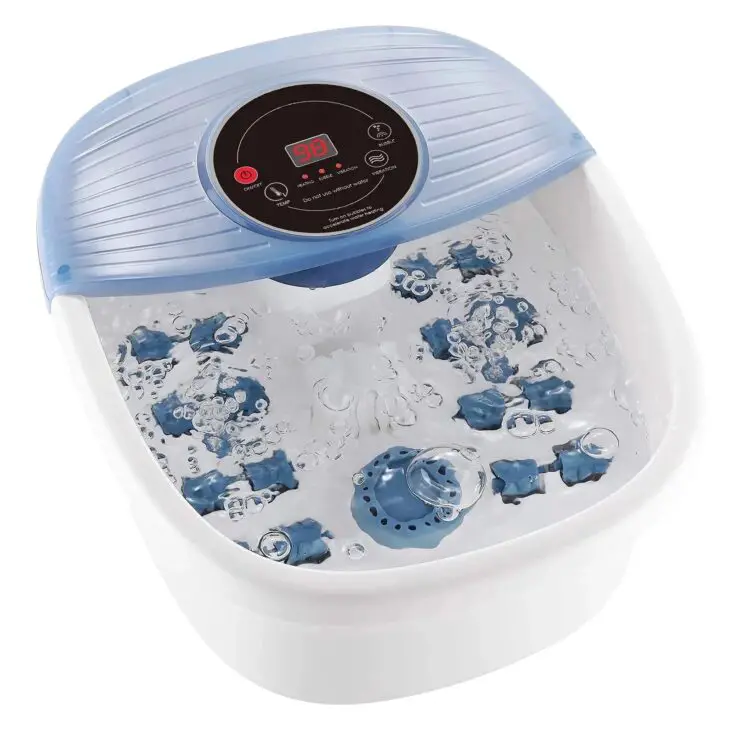
Photo Credit:walmart.com
No need for anything fancy; a clean bucket or even a bathtub will do! This is where feet will get their much-deserved soak.
Buy Now
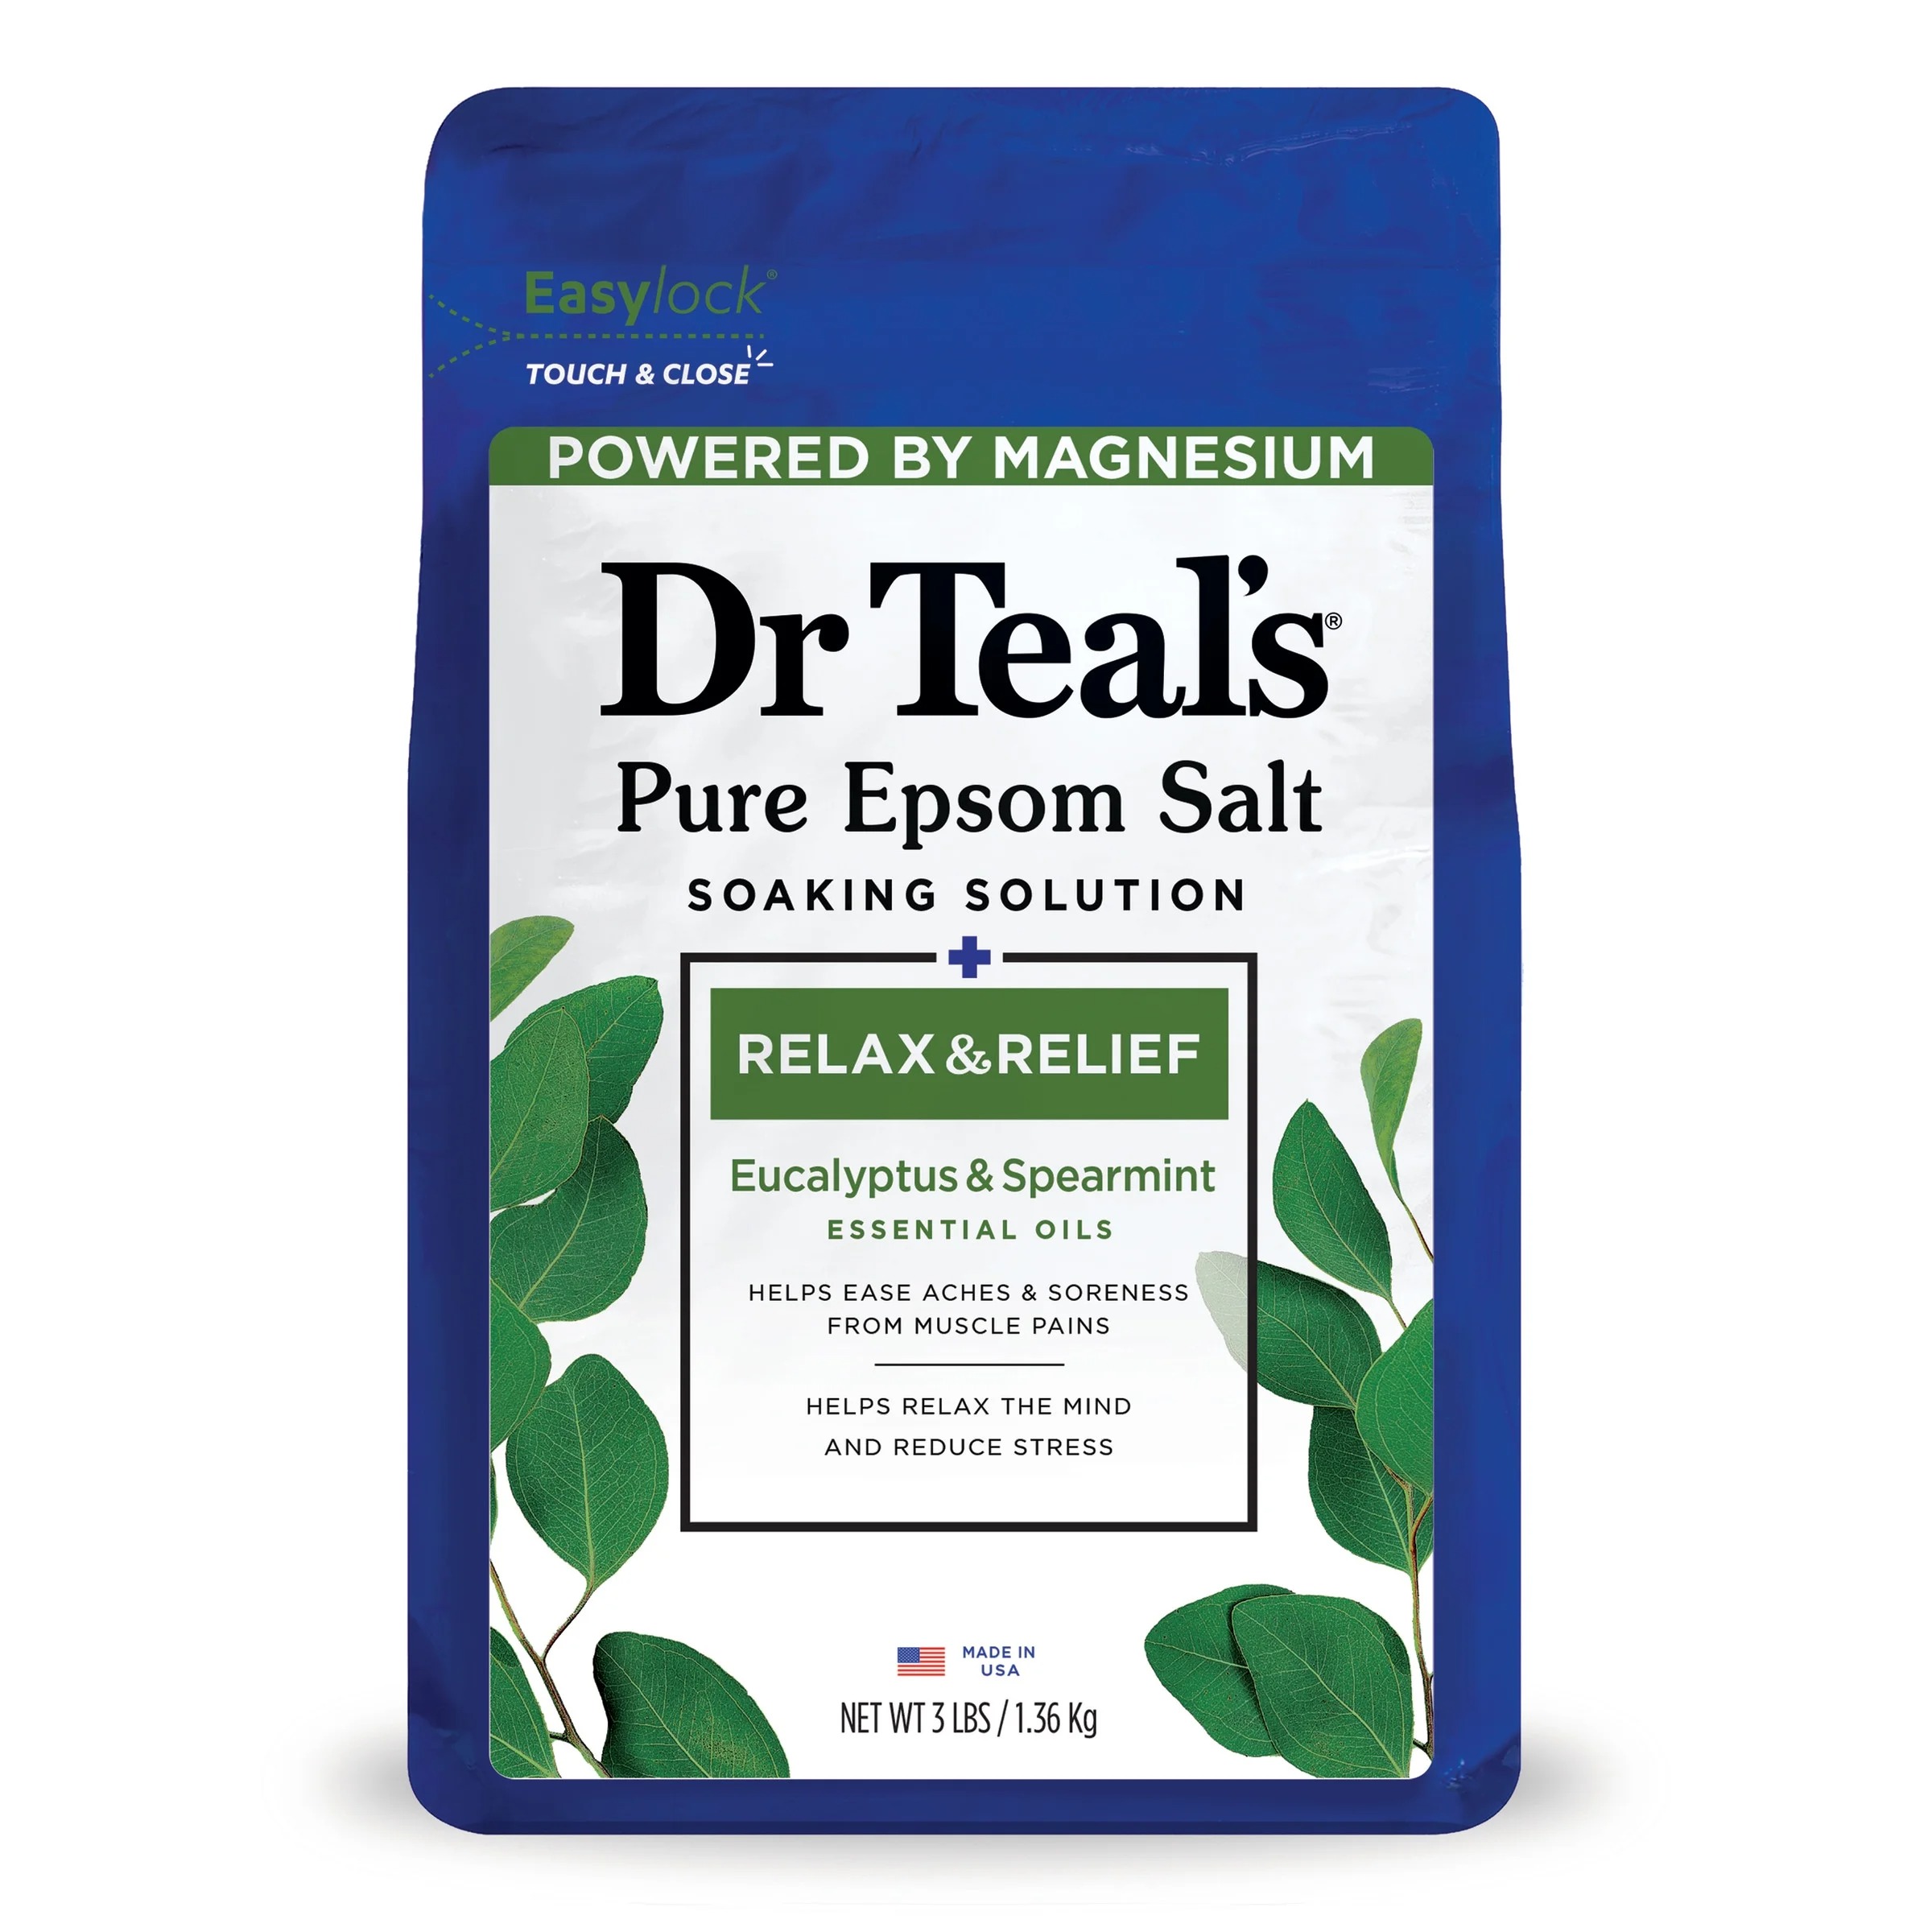
Photo Credit:walmart.com
Epsom salts are magical for relaxing tired muscles and softening skin. For an extra touch, a fun bath bomb designed for feet can add a lovely aroma and fizz.
Buy Now
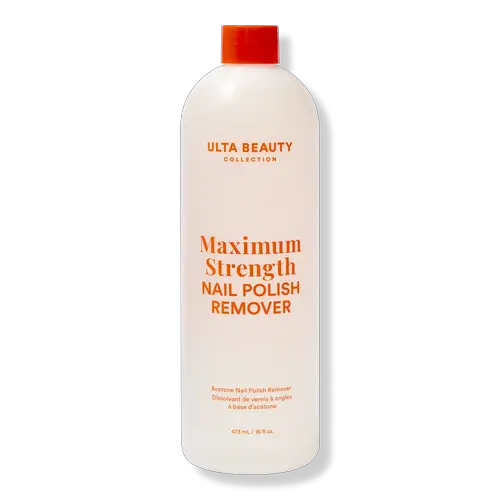
Photo Credit:www.ulta.com
Make sure you clean your nails off before getting started.
Buy Now

Photo Credit:www.ulta.com
Always start with a clean slate!
Buy Now

Photo Credit:www.ulta.com
Essential for shaping and maintaining healthy nails. Remember to clip straight across to prevent ingrown nails.
Buy Now
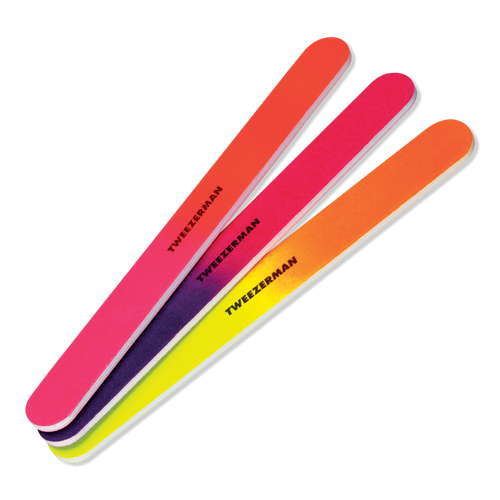
Photo Credit:www.ulta.com
Don't forget to shape those nails gal!
Buy Now
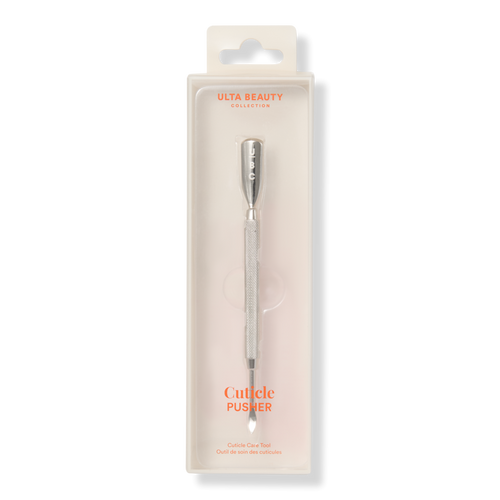
Photo Credit:www.ulta.com
A gentle pusher (orange stick or rubber-tipped) is great for tidying cuticles. Only use nippers if experienced and only on hangnails – never cut live cuticle!
Buy Now
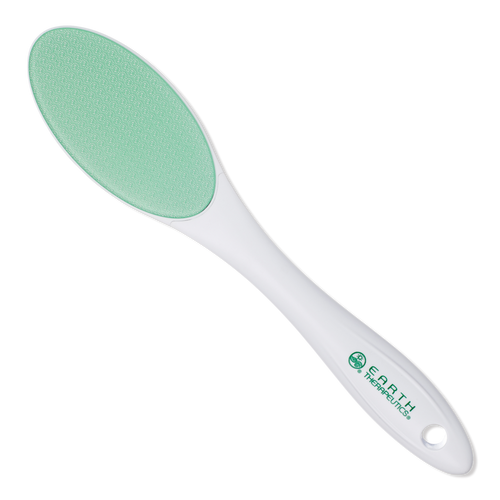
Photo Credit:www.ulta.com
A secret weapon for tackling dry, rough patches and calluses. Look for one with a good grip.
Continue Reading
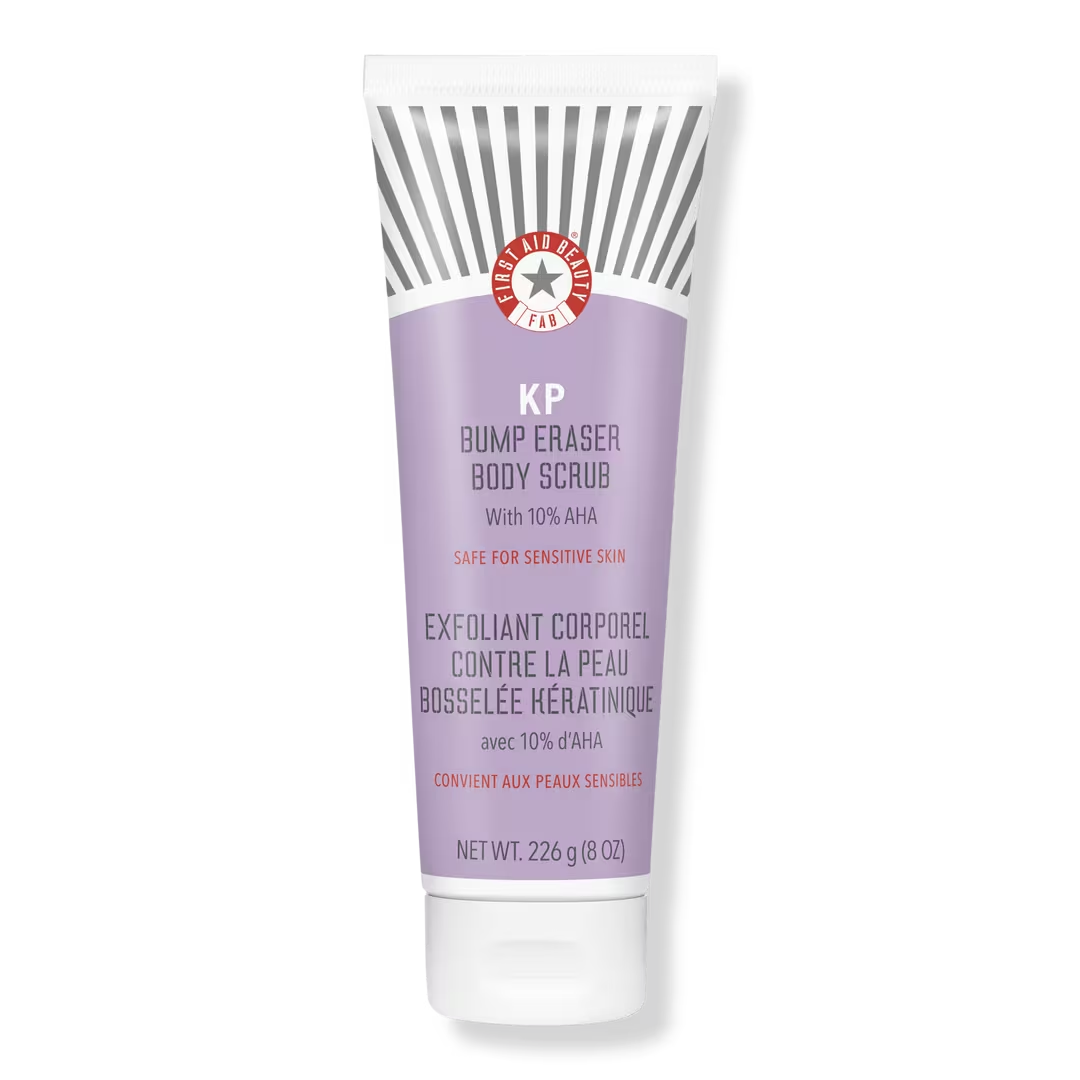
Say goodbye to dead skin! A good scrub will leave feet feeling incredibly smooth. One can even whip up a DIY sugar scrub.
Buy Now
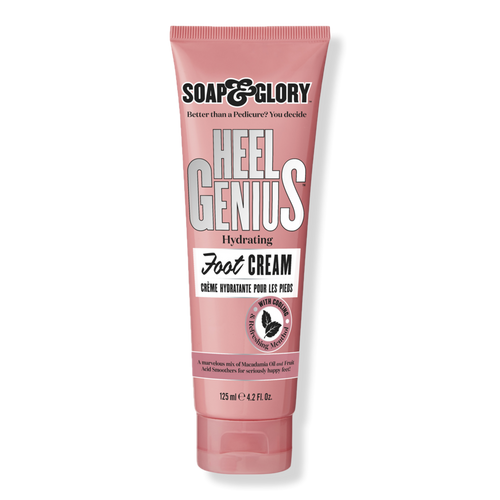
Photo Credit:www.ulta.com
Hydration is key! A rich cream will seal in all that goodness.
Buy Now
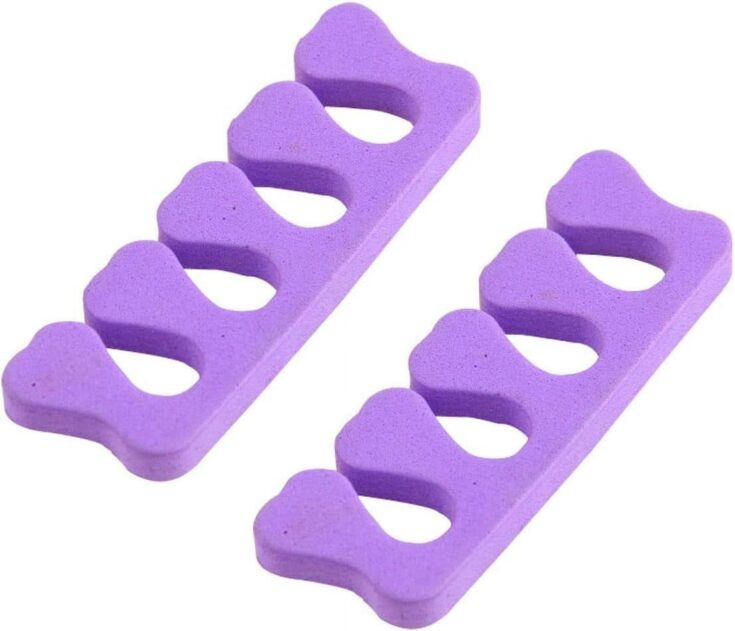
Photo Credit:walmart.com
Optional but Recommended!These make polishing so much easier and mess-free.
Buy Now
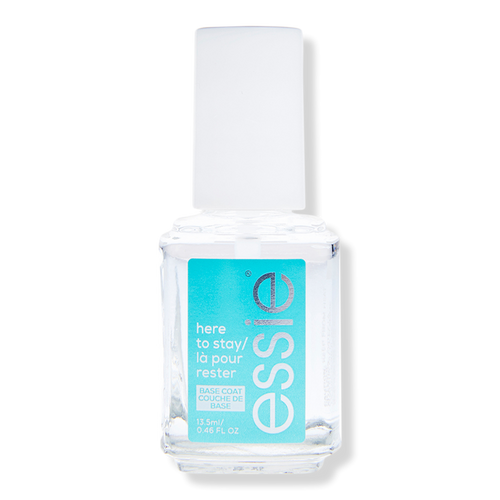
Photo Credit:www.ulta.com
Start your painting sesh with a base coat!
Buy Now
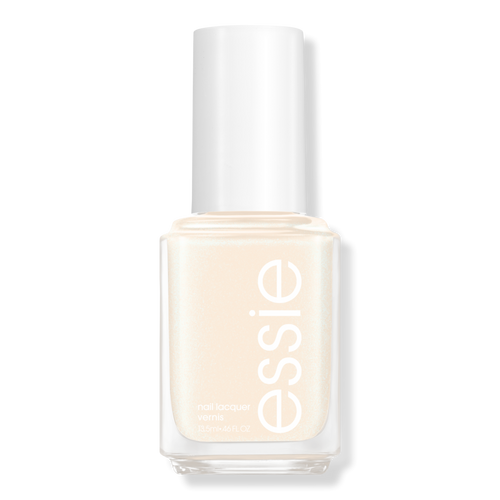
Photo Credit:www.ulta.com
Pick your favorite color!
Buy Now
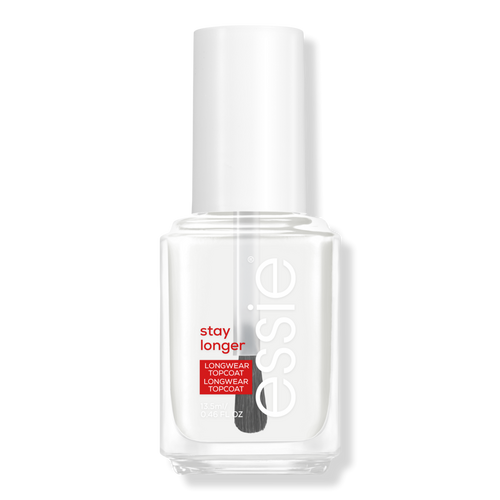
Photo Credit:www.ulta.com
Finish off with a top coat!
Buy Now
Mastering Your At-Home Pedicure: A Step-by-Step Guide
Now that you’ve got everything laid out like a pro, let’s walk through the steps to get those feet feeling and looking fantastic. This at-home pedicure routine is designed to be relaxing and effective!
Step 1: Prep Your Toes (The Clean Slate) Start by removing any old nail polish with your remover and cotton balls. This gives you a fresh canvas to work with.
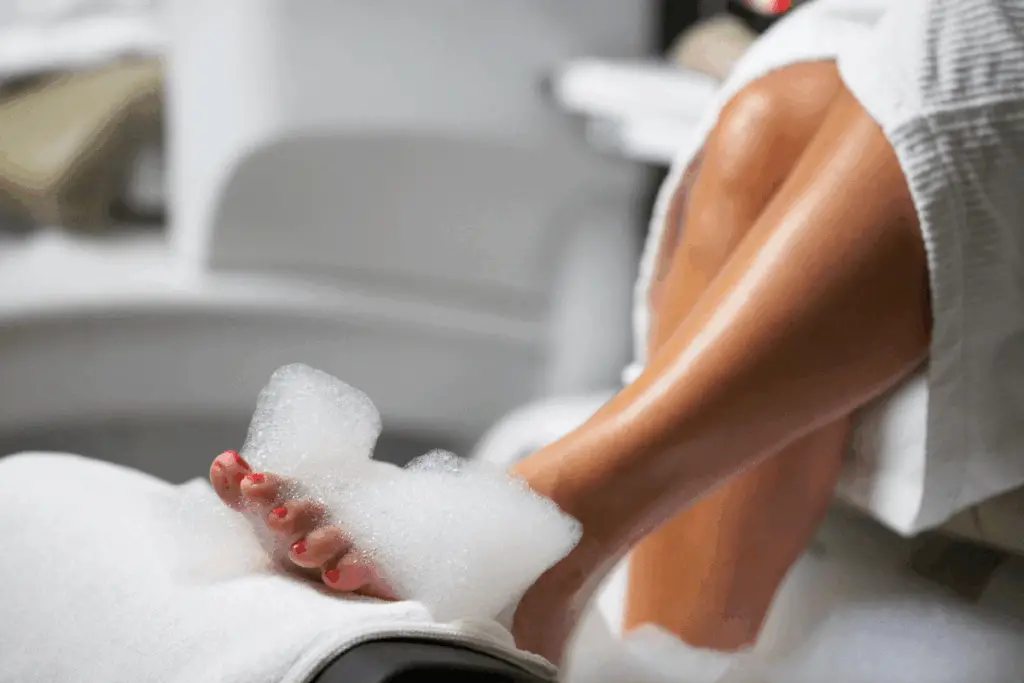
Step 2: The Soothing Soak Fill your basin or foot spa with warm (not scalding!) water. Add a generous handful of Epsom salts or drop in your foot bath bomb. Submerge your feet and let them soak for 10-15 minutes. This step is crucial for softening skin and nails, making subsequent steps much easier. Light a candle, put on some music – this is your moment!
Step 3: Trim & Shape (Nail TLC) After soaking, pat your feet dry with a small towel. Using your nail clippers, carefully trim your toenails, following the natural shape of your toenails. Then, gently file the edges to smooth them out and achieve your desired shape.
Step 4: Cuticle Care (Be Gentle, Sis!) With a cuticle pusher, gently push back your softened cuticles. Remember, cuticles protect your nails, so be super gentle.
Step 5: Exfoliate and Smooth (Hello, Soft Skin!) This is where your foot file or pumice stone comes in. Gently buff away any rough spots, especially on your heels and the balls of your feet. Follow up with your exfoliating foot scrub. Massage it onto your feet and ankles in circular motions to slough off dead skin cells. Rinse thoroughly. Your feet should feel incredibly smooth now!
Step 6: Hydrate & Massage (The Best Part!) Pat your feet dry again. Now, generously apply your moisturizing foot cream or lotion. Take your time to really massage it into your feet, ankles, and even up your calves. This step is not just about hydration; it’s about stimulating circulation and giving yourself a mini spa treatment.
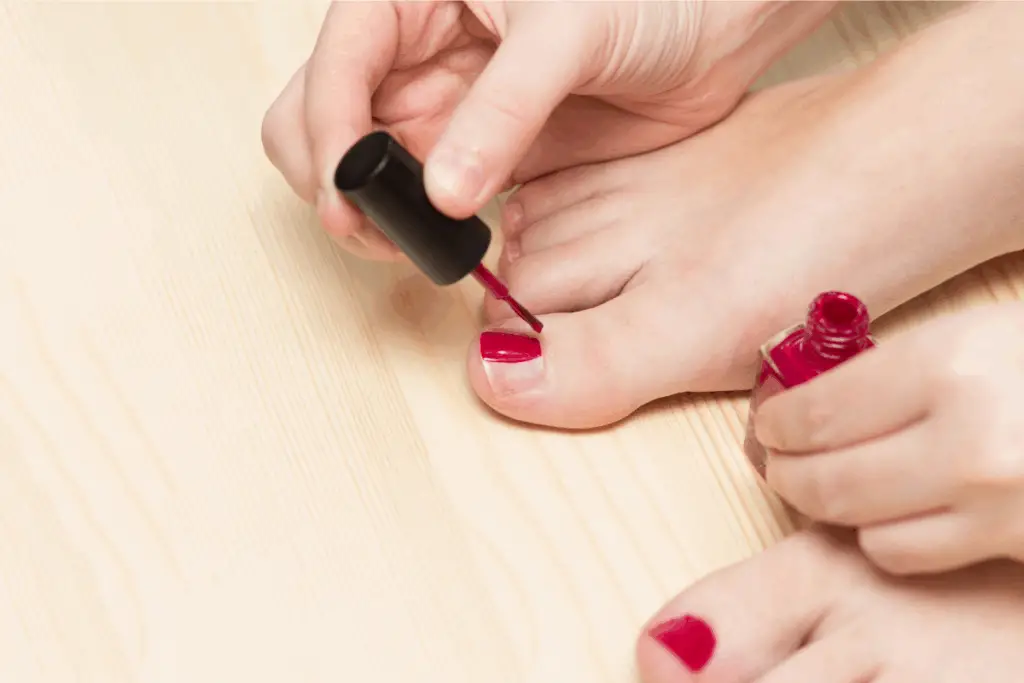
Step 7: Polish Perfection (The Grand Finale) If you’re planning to polish, make sure your nails are completely dry and free of any lotion residue (you can quickly wipe them with a bit of nail polish remover). Place your toe separators between your toes. Apply a thin layer of base coat, followed by two thin coats of your chosen nail polish color, allowing each coat to dry for a minute or two in between. Finish with a layer of top coat for shine and protection. Let your nails dry completely before moving around too much – patience is key here!
Pro-Tips for Lasting Results & Happy Feet
- Regularity is Key: Aim for an at-home pedicure every 2-4 weeks to keep your feet consistently happy.
- Moisturize Daily: Even between pedicures, keep those feet hydrated with a good foot cream.
- Wear Proper Footwear: Comfortable, supportive shoes can make a huge difference in foot health.
- Don’t Forget Sunscreen: If your feet are exposed, protect them from the sun!
There you have it! Your very own at-home pedicure guide. You’ve got the power to pamper yourself whenever you need it, saving time and money while keeping those toes perfectly polished. So go ahead, kick off your shoes, embrace self-care, and let your gorgeous feet shine!
What’s your favorite part of the at-home pedicure? Let us know in the comments!
Originally published by thecurvyfashionista.com. Syndicated material does not necessarily reflect the views of Vanity Fair Fashion.


.jpg)
